
Last updated November 15, 2026
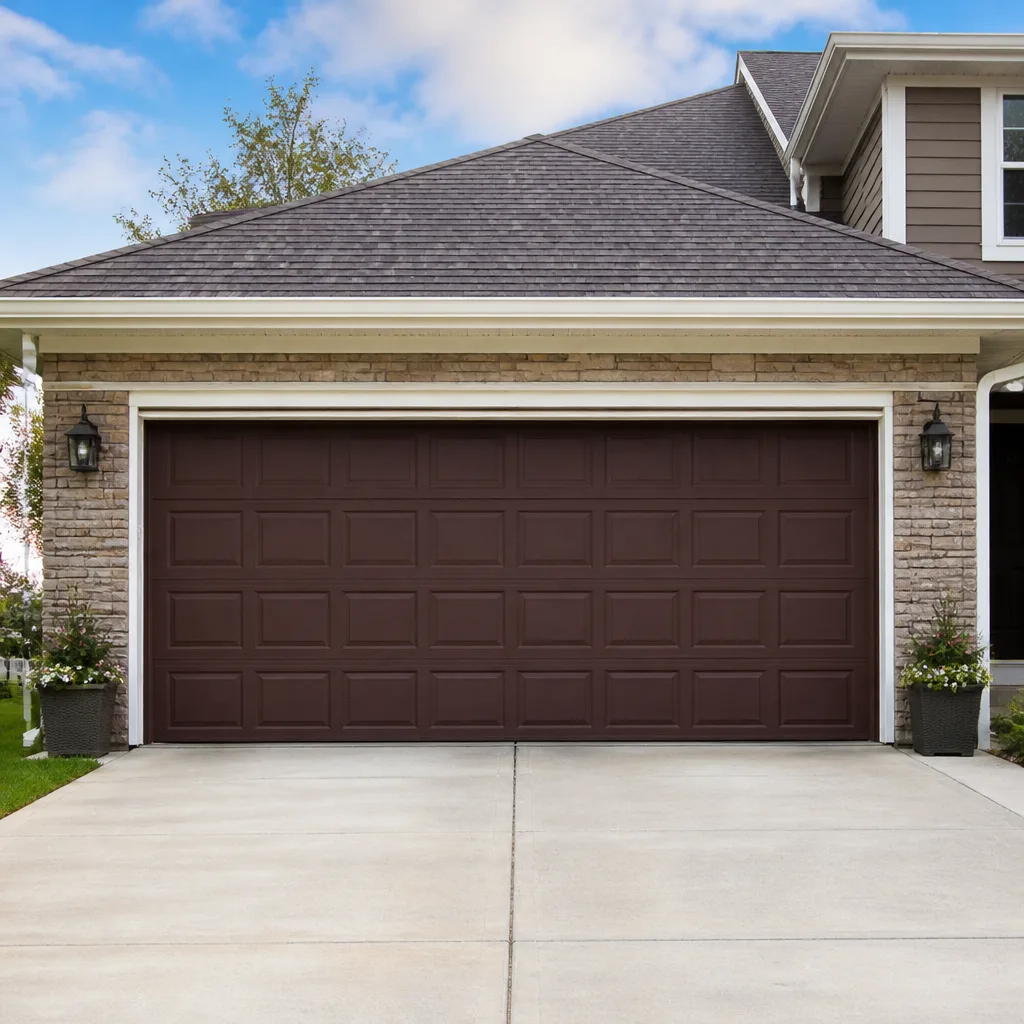 Raised-panel steel
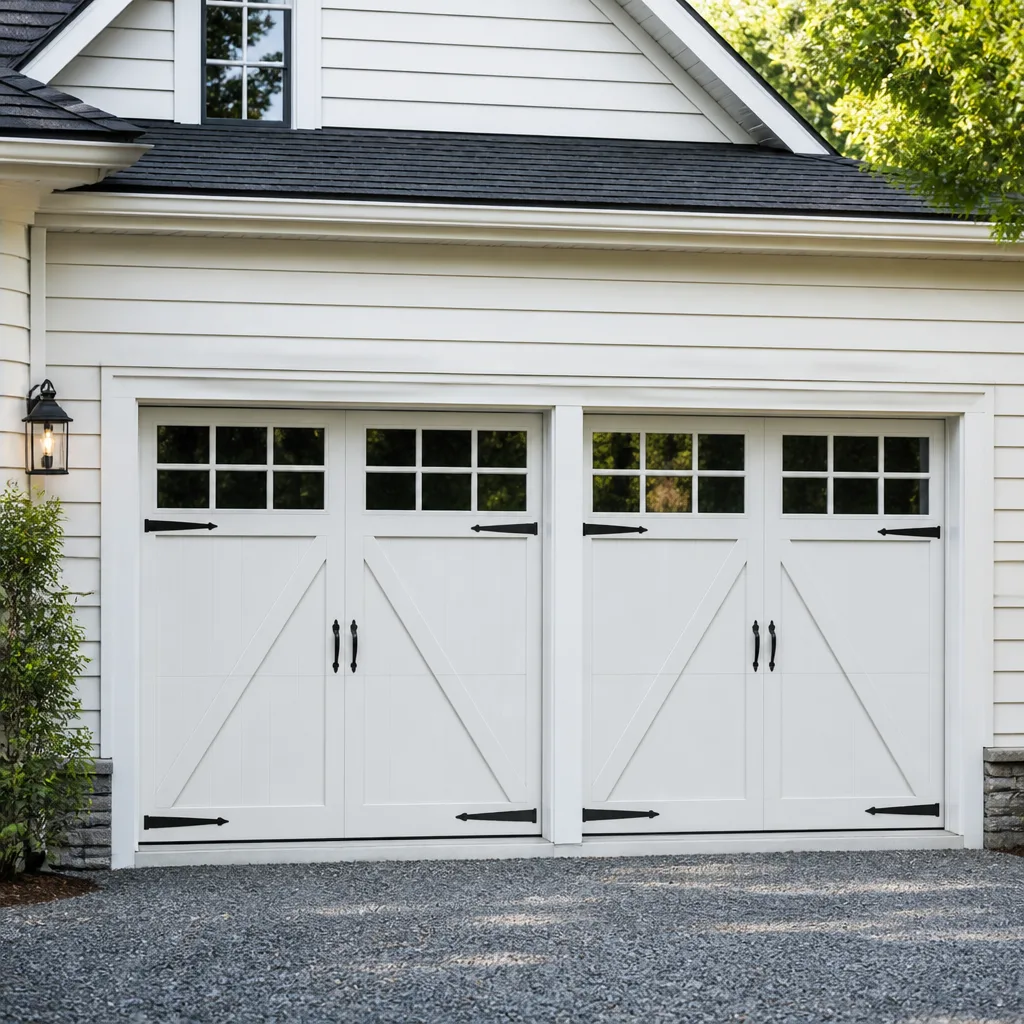 Carriage house
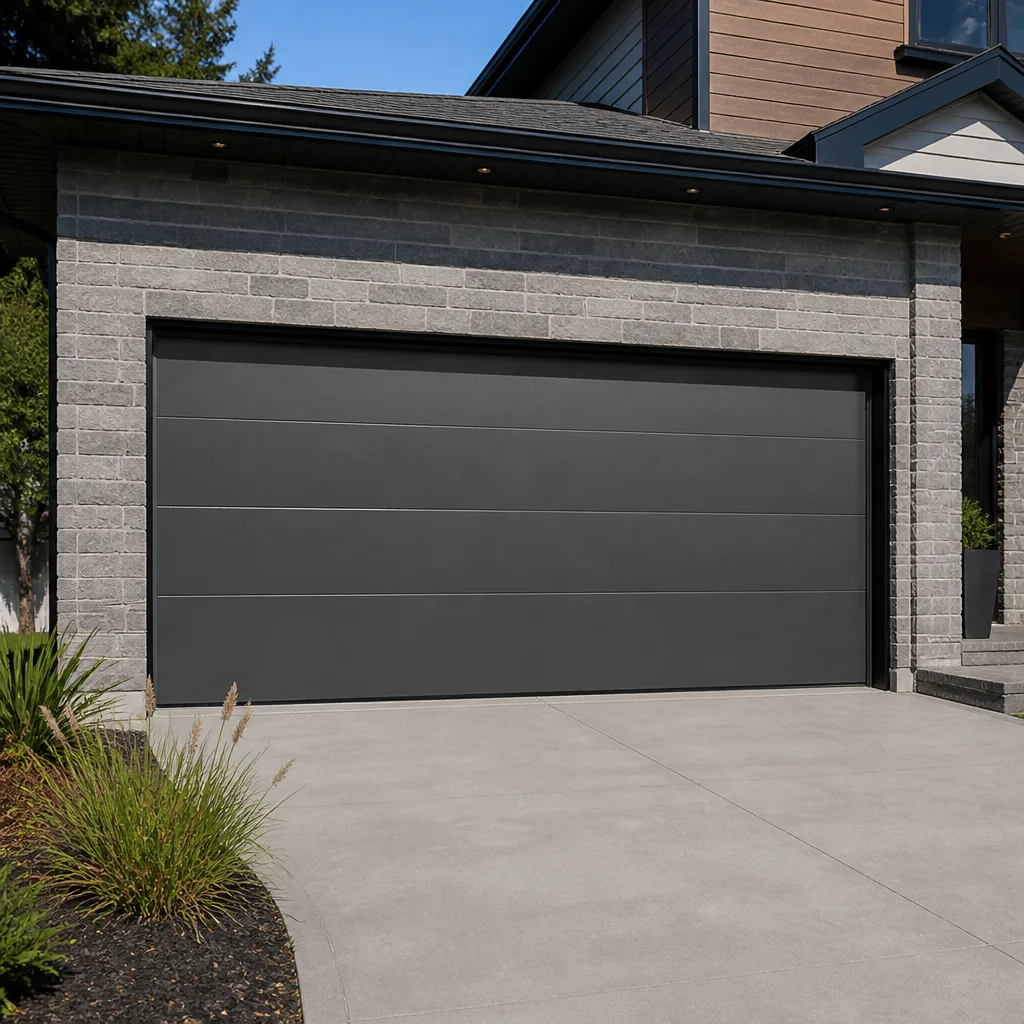 Modern flush
 Full-view glass
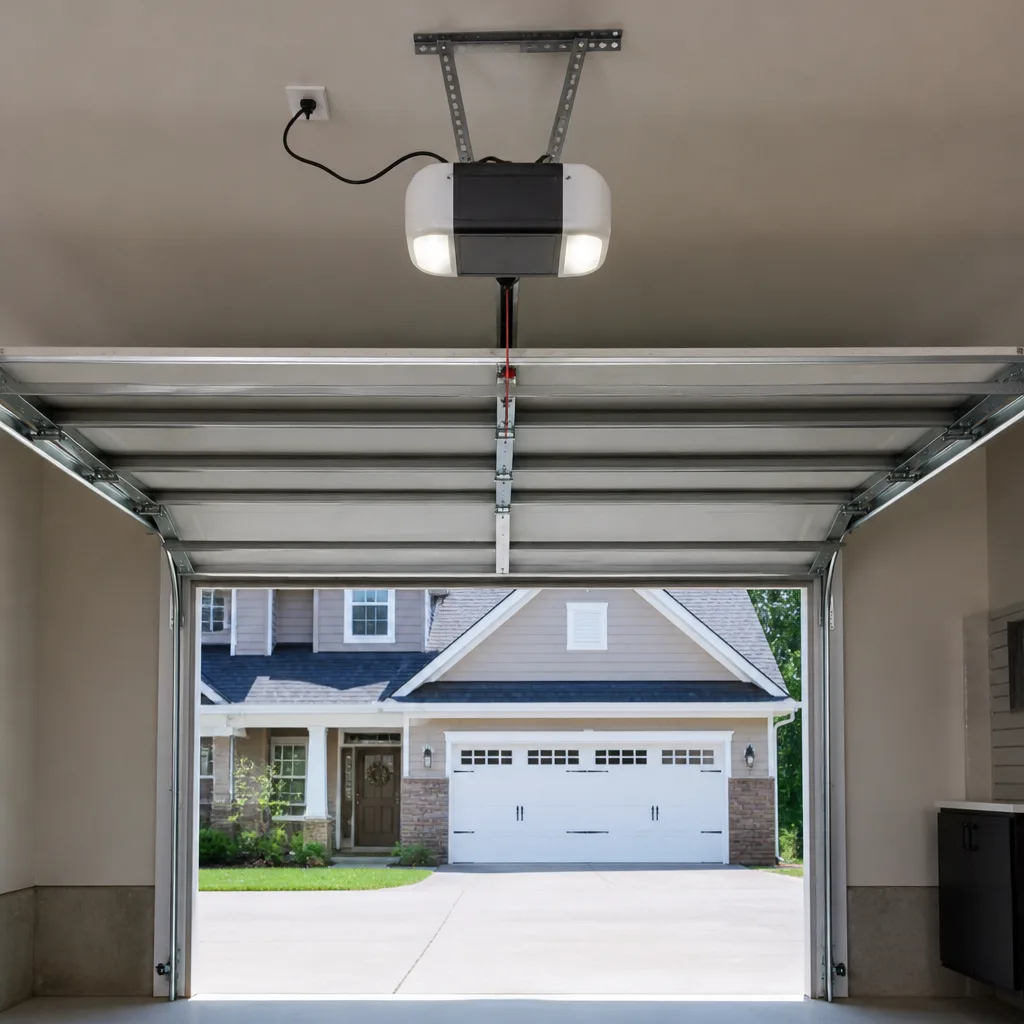 LiftMaster openers
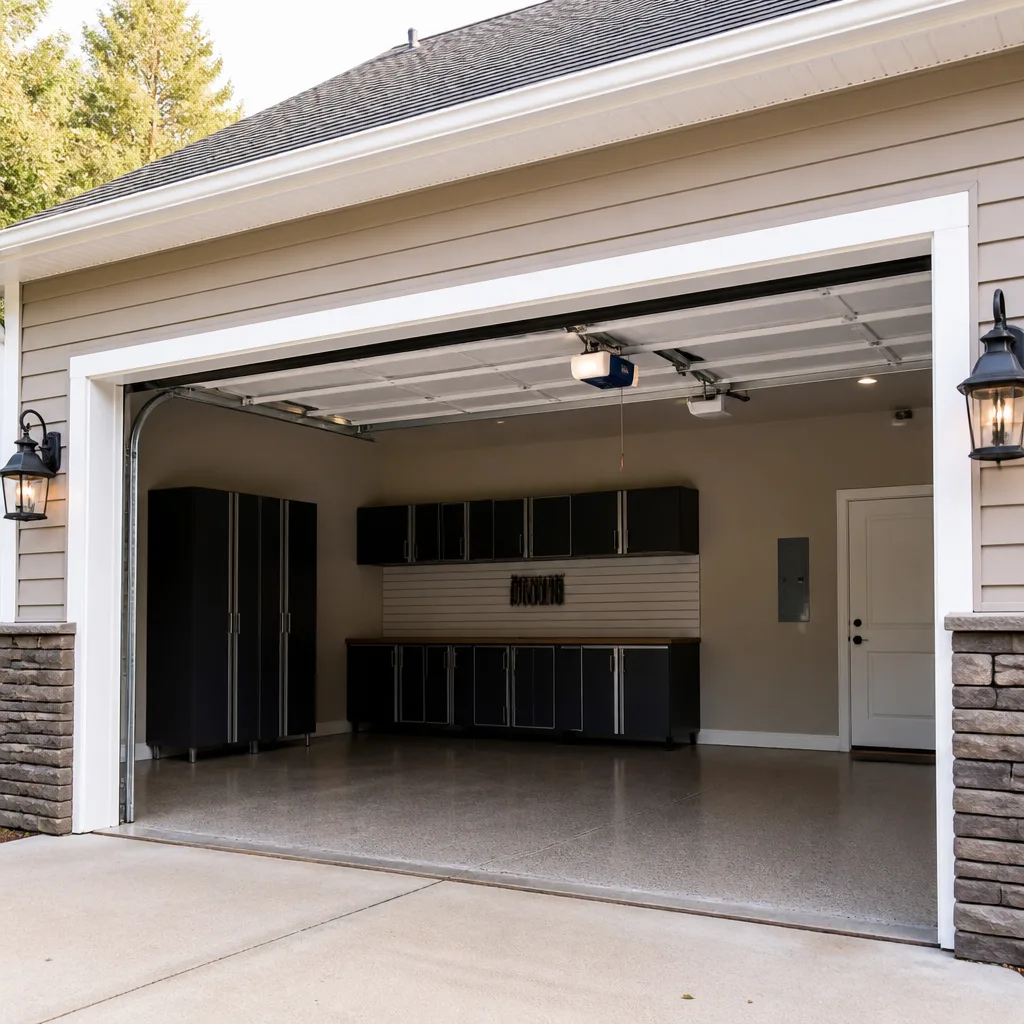 Chamberlain openers
Full 25-point door and opener safety check with every visit - springs, cables, rollers, tracks, and your LiftMaster or Chamberlain opener included
You get a price before we start. It does not change when the pro arrives.
Get your free estimateGarage Door Repair Maintenance Schedule: What to Do and When
Search for garage door maintenance tips and you’ll find the same advice recycled everywhere: spray lubricant on your tracks. That single line causes more drag, more grit buildup, and more premature roller wear than almost any other piece of DIY advice out there. Tracks are supposed to stay clean and dry. The parts that actually need oil are the ones nobody mentions. In this guide we’ll walk through a realistic maintenance schedule for Centennial homeowners, built around the local climate and around which tasks genuinely matter, which ones are a waste of a Sunday, and which ones should never be a homeowner’s job at all.
Quick Answer
A practical garage door maintenance schedule means lubricating rollers, hinges, and springs twice a year, keeping tracks clean and dry, testing the auto-reverse function once a month, and having a technician inspect springs, cables, and the opener once a year. In Centennial, the two key checkpoints are before the first hard freeze and after the spring thaw, since both seasons stress the door’s moving parts hardest.
Styles & brands we work with
- Raised-panel steel
- Carriage house
- Modern flush
- Full-view glass
- LiftMaster openers
- Chamberlain openers
Table of Contents
- The Full-Year Schedule at a Glance
- What to Lubricate and What to Never Lubricate
- A Season-by-Season Checklist for Centennial’s Climate
- The Annual Test Most Homeowners Skip
- Spotting Spring Fatigue Before a Snap
- How Long Each Task Actually Takes
- What to Hand Off to a Technician
- Opener Care Between Service Visits
The Full-Year Schedule at a Glance
Garage door maintenance works best when it’s small and consistent rather than a big annual production. We’ve seen doors that get five minutes of attention a few times a year outlast doors that get a full deep clean and then nothing for two years. The schedule below splits tasks by how often they actually need doing, not by how often they’re fun to do.
Here’s the framework we suggest to homeowners across Centennial:
- Monthly: Run the auto-reverse safety test and glance at the door’s balance. Two minutes, top to bottom.
- Every three months: Wipe down the tracks with a dry cloth and check for debris, loose bolts, or worn rollers.
- Twice a year, spring and fall: Lubricate rollers, hinges, and the torsion spring with a proper garage door lubricant. More on which product in the next section.
- Once a year: Book a professional inspection of the springs, cables, and opener assembly.
- After any hard weather event: A visual walk-around. Hail and high winds are the two things that stress a door in Centennial more than any other factor.
That’s the whole schedule. Notice how little of it involves buying tools or spending an afternoon in the garage. The point isn’t to become a garage door technician. It’s to catch the small things before they become the kind of failure that strands your car inside at 7am. Our technicians have up to 9 years of experience, and almost every emergency call we run traces back to a small thing that was visible months earlier.
What to Lubricate and What to Never Lubricate
The single most common mistake in garage door care is lubricating the tracks. Tracks aren’t a sliding surface. They’re a guide. Your door’s rollers roll along the inside of the track, and if the track is slick, the rollers can slip and jam at the curves instead of tracking cleanly. Worse, any oil on the track grabs every speck of dust, grit, and leaf debris that drifts in, and that grit then grinds away at the roller bearings every time the door cycles. Keep the tracks clean and dry. Always.
What actually needs lubrication is the stuff that pivots and rolls:
- Rollers: A drop on the bearing of each roller, once the door is down and the tension is off, keeps them rolling smooth and quiet.
- Hinges: Every hinge point between panels. These are the second most common source of noise.
- Torsion spring: A light coat extends the life of the coils. Don’t overdo it; a spray is plenty.
- Opener rail and chain or belt: Use the lubricant your opener’s maker specifies. If you’re unsure, we work on garage door opener repair for every common brand, and we can tell you exactly what your unit needs.
Use a proper garage door lubricant, not WD-40 or cooking spray. A dry or silicone-based spray is what the hardware is designed for. A generic penetrating oil will attract dust just like it does on the track, and you’ll be back to square one in a month.
A Season-by-Season Checklist for Centennial’s Climate
Centennial sits at altitude on the Front Range, which means cold, dry winters, fast swings between freezing and thawing, and springs that bring wind, hail, and temperature swings of thirty degrees in a day. That pattern is hard on garage door hardware. The metal in your springs and tracks expands and contracts with every swing, and every swing is a small stress on the assembly.
Here’s the seasonal version of the schedule, tuned to that pattern:
Before the first hard freeze (late fall)
- Lubricate every roller, hinge, and the torsion spring. Cold metal needs the protection more, not less.
- Check the weather seal along the bottom of the door. A stiff, cracked seal lets cold air and moisture under the door and can freeze to the floor, and it’s the first thing Centennial homeowners notice when the garage gets drafty.
- Run the balance test (details below). A door that’s slightly out of balance in October will be noticeably worse in January.
- Listen for new noises. Cold brings out squeaks and groans that were quiet in summer.
After the spring thaw (mid spring)
- Wipe down the tracks and check for debris, dirt, or small stones the melt carried in.
- Recheck the bottom seal. Winter is when it takes its worst beating.
- Inspect the door panels for hail dents if the previous season was rough. Small dents become rust spots over time.
- Test the auto-reverse function again. This is the point in the year when we start getting calls after a winter of the door straining against frozen asphalt.
Two checkpoints, half an hour each, and you’ve covered the two moments of the year when a Centennial garage door is most likely to develop a problem.
The Annual Test Most Homeowners Skip
The auto-reverse test is the most important thing you can do with your garage door, and almost nobody does it. It takes two minutes and it reveals whether your door would stop and reverse if something were in the way. The test is simple and safe if you follow the manufacturer’s instructions. If you’ve never run it, spend the two minutes today.
The standard test:
- Place a solid object, like a 2×4 laid flat, on the ground directly under the middle of the door.
- Close the door using the wall switch or remote. It should reverse and go back up the moment it touches the object.
- If it doesn’t reverse, stop using the door until a technician checks it.
You’ll also want to test the photo-eye sensors on either side of the door. Wave something in front of them while the door is closing and confirm the door reverses. Clean the lenses with a dry cloth if they’re dusty. If they’re misaligned, the door may refuse to close at all, which is one of the most common opener calls we get in Centennial.
This test isn’t a guarantee that every component is safe, but it catches the most common failure modes before they hurt someone. Manufacturers design openers around this feature for a reason, and a door that fails the test isn’t something to put off; it’s a stop-using-the-door issue until a technician has seen it.
Spotting Spring Fatigue Before a Snap
Garage door springs are the hardest-working parts on the whole assembly. They lift nearly the entire weight of the door, over and over, for years. And they fail. Not if; when. The question is whether you catch the warnings in time. In our experience, almost every snapped spring gives weeks of forewarning, and almost nobody notices it.
Watch for these signs:
- New noise: A door that suddenly sounds different, with a clang or twang on open or close, is telling you the spring is being asked to do more lifting than it can comfortably manage.
- Balance drift: Pull the door up by hand about halfway and let go. A healthy door stays roughly where you let it. A door that drifts down or slams down is unbalanced, and the spring is the usual reason.
- Uneven lift: If one side of the door rises before the other, or the door looks crooked when it’s halfway up, stop using it until a technician looks.
- Visible gap in the coil: A torsion spring with a visible gap or wobble in the coil is on borrowed time.
- A door that’s suddenly hard to lift by hand: The spring has lost its tension and you’re lifting the door yourself. This is when people get hurt.
Springs are the single most dangerous part of the entire door. A loaded torsion spring stores enough energy to cause serious injury. We never recommend homeowners try to test, tighten, or replace them, even when the failure seems obvious. Call a technician. If you’re in Centennial and you suspect spring trouble, garage door repair is the exact service we handle for springs, cables, and the surrounding hardware, and a diagnostic visit is often far cheaper than the emergency one after a snap.
How Long Each Task Actually Takes
One of the reasons homeowners skip maintenance is that they assume every task is a project. It’s not. The specific numbers help, so here they are for a typical residential door:
- Auto-reverse test: 2 minutes.
- Balance test: 2 minutes, if you know the technique.
- Wipe down the tracks: 5 minutes, including checking for debris.
- Lubricate rollers, hinges, and spring: 10 to 15 minutes.
- Bottom seal inspection: 5 minutes, and worth it every time the season changes.
- Visual inspection of cables and hardware: 5 minutes, but only to spot obvious fraying or looseness. Don’t put a tool on a cable.
So the monthly routine is about two minutes. The quarterly routine is about five. The seasonal tasks are each a half-hour. The whole year of maintenance adds up to less time than a single oil change. That’s the point. This isn’t supposed to be a hobby. It’s a small habit that prevents a very expensive problem.
What to Hand Off to a Technician
Some tasks are homeowner jobs. Some are not. Here’s the honest dividing line:
In the “not your job” category:
- Replacing or adjusting torsion springs or extension springs.
- Adjusting or replacing the lift cables.
- Adjusting the opener’s force settings if the door keeps hitting the auto-reverse.
- Track straightening after a bump, since misaligned tracks are how rollers break and doors come off their rails.
- Replacing roller assemblies that are worn flat.
In the “your job” category:
- Monthly safety tests.
- Keeping tracks clean and dry.
- Lubricating pivots and rollers.
- Keeping the photo-eyes clean and clear of obstructions.
- Listening for new noises.
An annual professional inspection is where the two categories meet. A technician can spot the worn roller, the fraying cable end, or the spring on its last legs before any of them become a stranding event. Our technicians work on Genie, Clopay, Amarr, Wayne Dalton, and the other major brands, so they recognize what they’re looking at immediately. A maintenance visit costs a fraction of a crisis visit, plain and simple.
Opener Care Between Service Visits
Your opener is the tech in the system that gets the most wear and the least attention. It’s also the most failure-prone component on the whole door, which is why we treat opener work as a distinct service. Between service visits, the homeowner can do a few small things to keep it happy:
- Keep the opener unit free of dust and cobwebs. The motor needs air.
- Listen for a grinding noise or a chain that slaps against the rail. On chain-drive openers, that’s the most common sound of a worn sprocket or loose chain.
- Check that the safety sensors on either side of the door are aligned and the indicator light on each is lit when the door is down.
- Don’t hang storage from the opener rail or from the door itself. It loads the motor and unbalances the door.
- If your opener has a battery backup, check that it holds a charge. A quick test is unplugging the unit and cycling the door once.
Those little habits save a lot of service calls. When something goes wrong with the opener itself, our team handles opener repair for every major brand, from a LiftMaster chain drive to a Chamberlain belt drive to a Genie screw drive. The diagnostic process is different for each, and knowing the brand up front makes the fix faster.
Common Mistakes to Avoid
- Lubricating the tracks. This is the most repeated bad advice in garage door care. The tracks are supposed to be clean and dry. Oil grabs grit and drags the rollers.
- Using WD-40 as a lubricant. It’s a penetrating oil, not a proper door lubricant. It evaporates and leaves a residue that attracts dust. Use a silicone or dry-based garage door spray.
- Skipping the auto-reverse test. Two minutes a month is the cheapest safety inspection you’ll ever do. Nearly all self-inflicted garage door injuries trace back to ignoring this test.
- Replacing a spring yourself. Torsion springs, especially, are under enormous tension and can cause serious injury if handled without proper tools and training. This is a technician’s job.
- Ignoring a new noise. That faint twang in cold weather in Centennial is the door telling you something. Waiting for the snap is how a $200 repair becomes a $600 one, plus a towed car.
- Storing items on the door or hanging things from the opener rail. Extra weight and extra load is how openers fail early and doors fall out of balance.
- Skipping the professional inspection because nothing seems wrong. The things a technician catches in a half-hour walk-around are typically the things a homeowner wouldn’t notice until they fail.
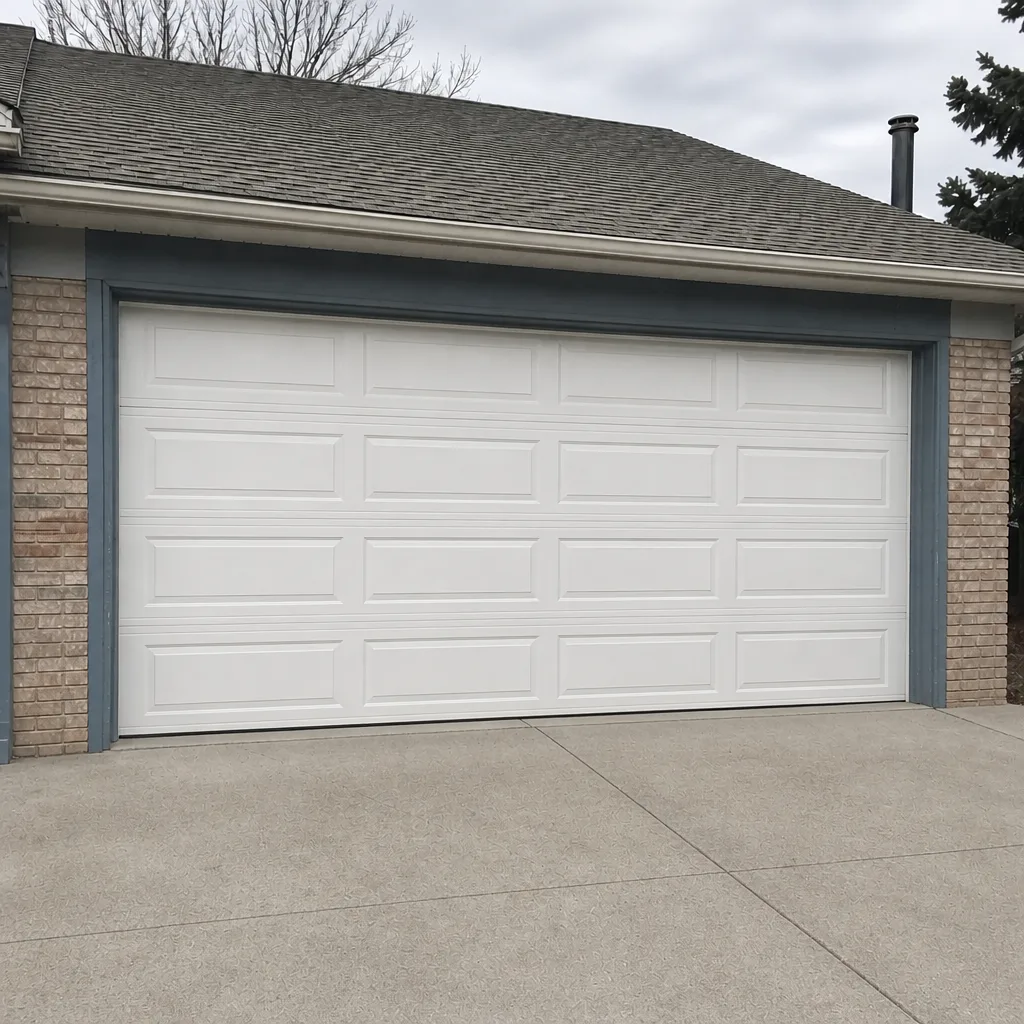
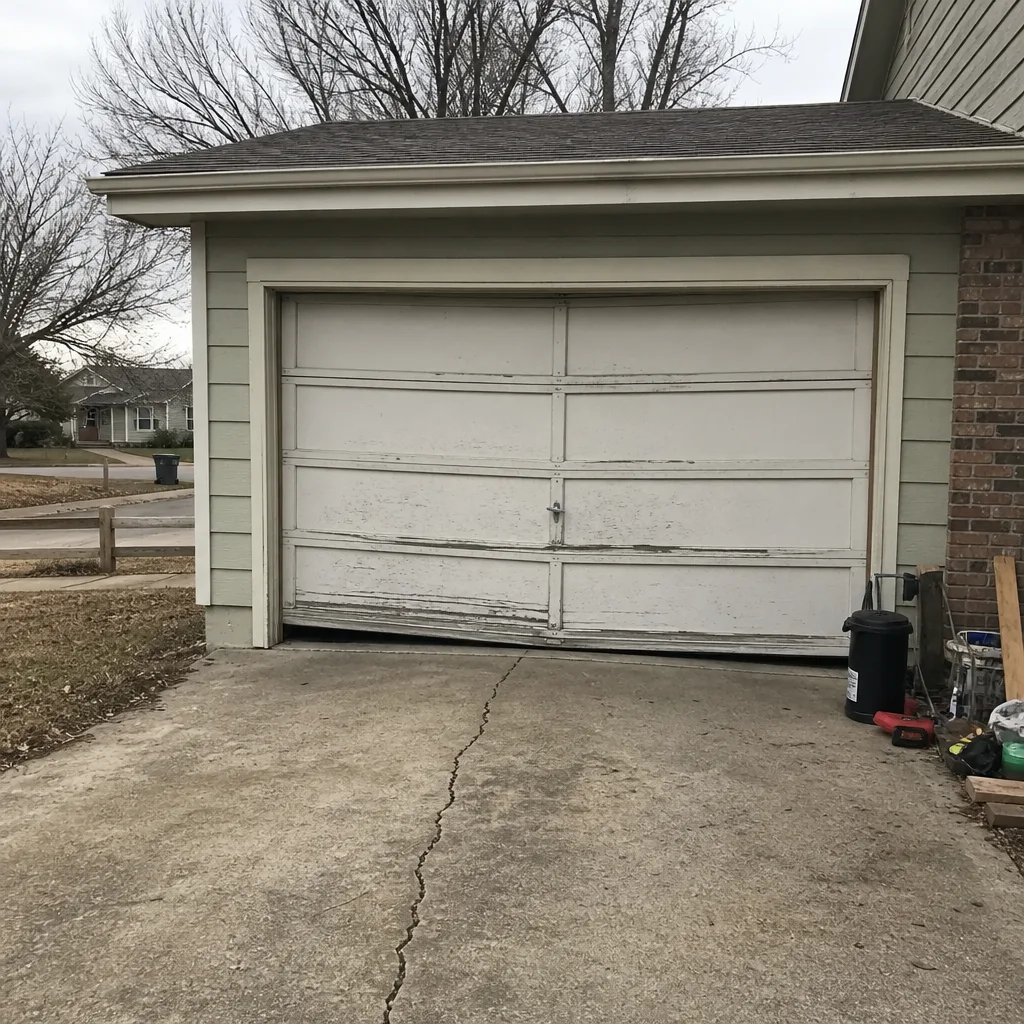
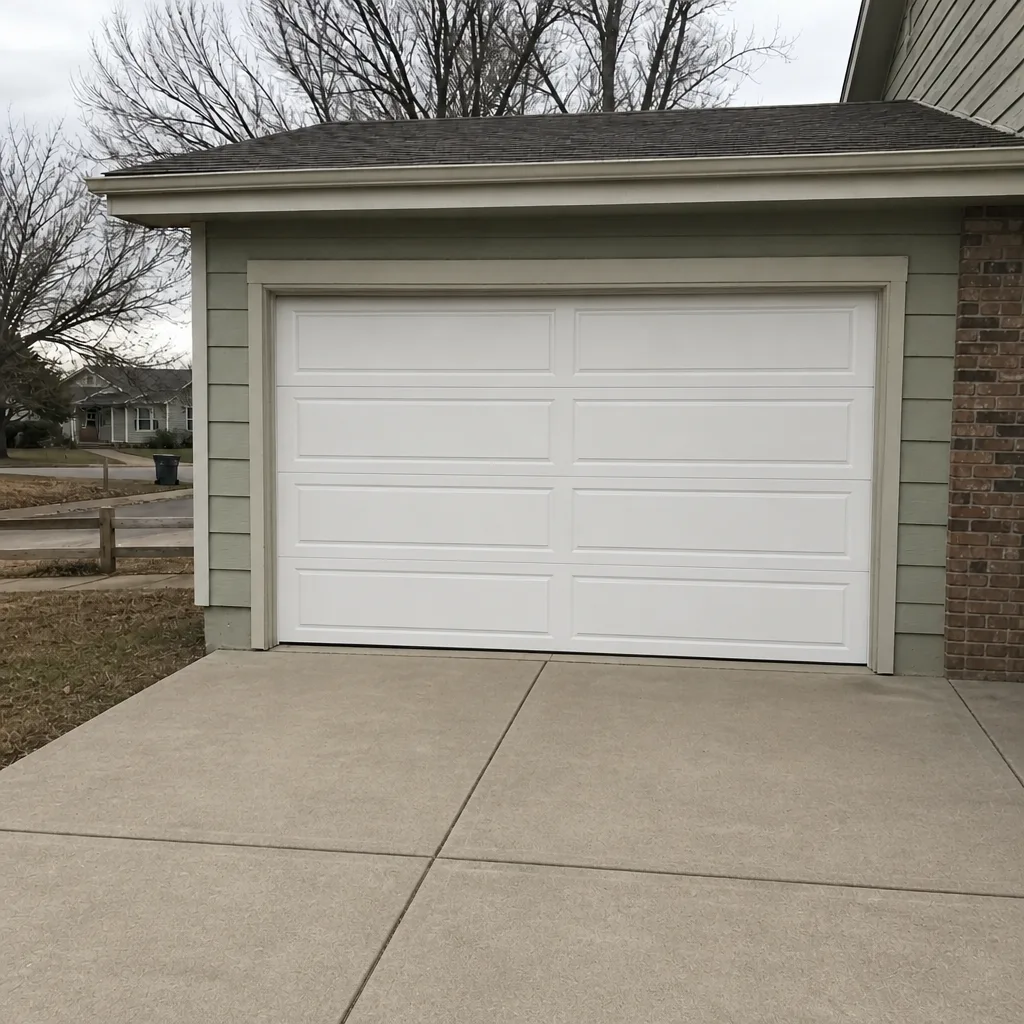
See the difference
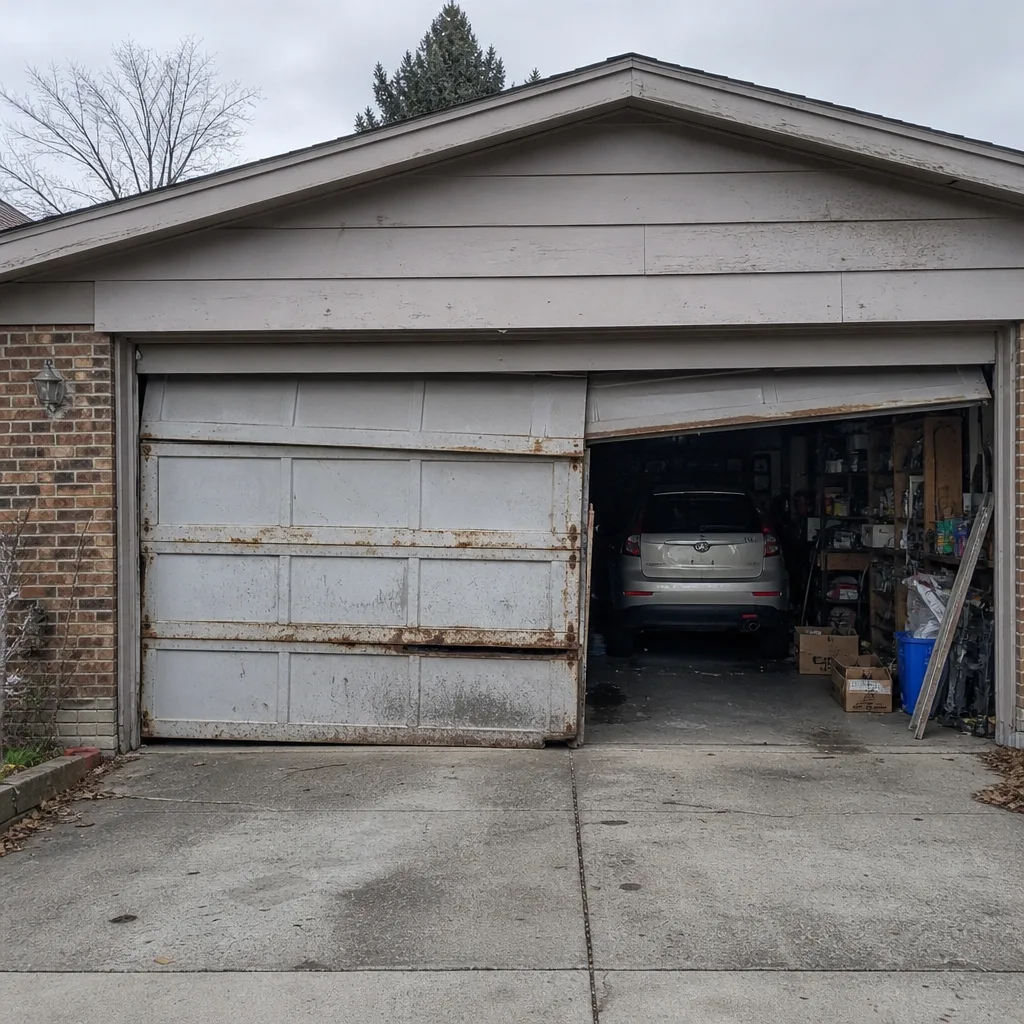 Before
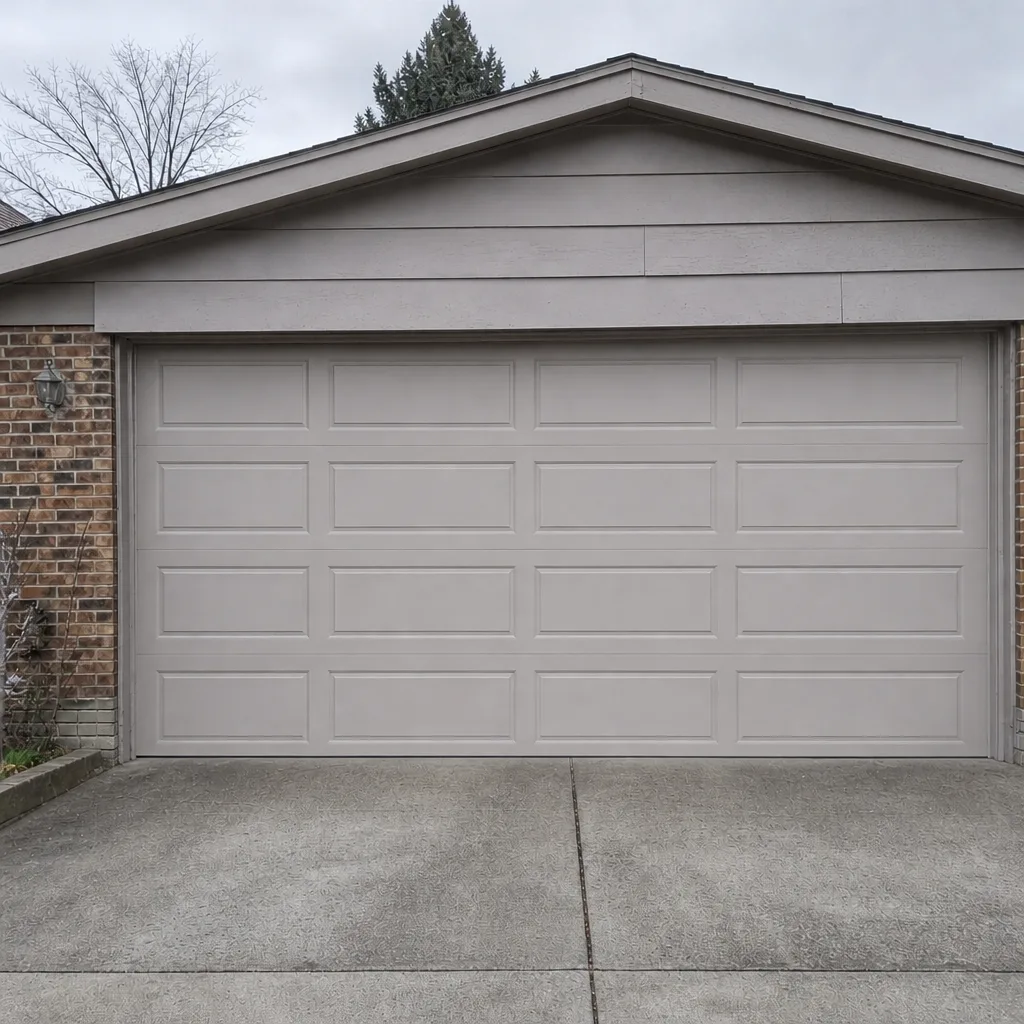 After
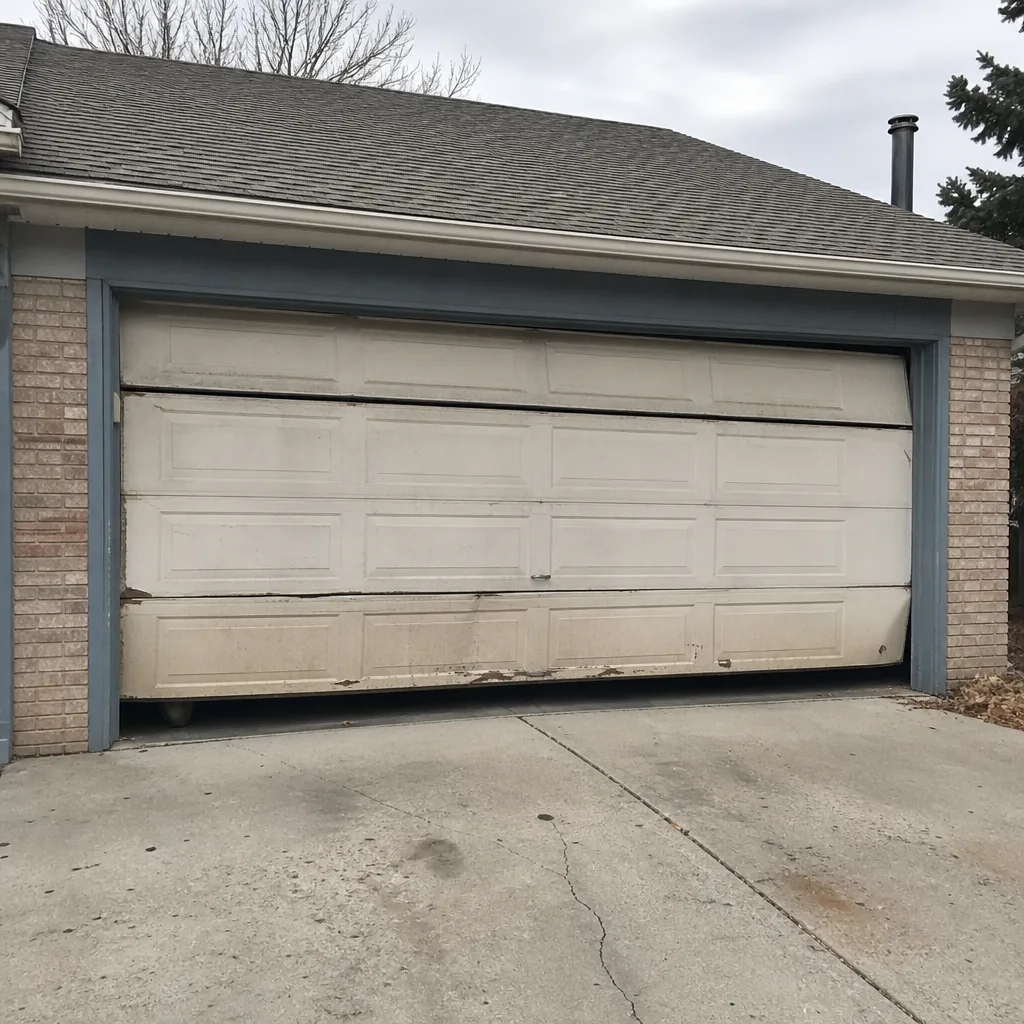 Before
 After
 Before
 After
When to Call a Professional
Most of the maintenance schedule is yours. These situations aren’t:
- The door won’t close, or closes but reverses immediately. That’s a sensor or safety system issue, not a homeowner fix.
- You hear a loud snap or bang when the door is in motion. Stop using the door and call.
- The door is visibly crooked or one side is higher than the other.
- A cable is frayed, loose, or hanging. Never touch it.
- The opener runs but the door doesn’t move, or the door moves but the opener sounds like it’s grinding.
- You’ve noticed a new noise for more than a few days.
Lockhart Garage Door Service offers free estimates in Centennial. Call (844) 834-3842. We answer 24/7, and fast dispatch runs from 7am to 7pm, Sunday through Friday. We work on your brand, whatever it is, and we’ll quote and agree the price with you before any work starts.
Frequently Asked Questions
Once a year for a professional inspection, plus a homeowner maintenance routine (lubrication, track cleaning, auto-reverse testing) every few months. Most manufacturers recommend annual service, and in Centennial’s climate the fall and spring checkpoints matter most. A yearly visit catches the wear items before they strand you.
No. Tracks should stay clean and dry. Lubricant on the tracks attracts dust, grit, and leaf debris, and the grit then grinds the rollers. Wipe the tracks with a dry cloth and put the lubricant on the rollers, hinges, and spring instead. This is the number one correction we make on homeowner-maintained doors.
It checks whether your door will reverse when it meets an obstacle during closing. Place a 2×4 flat under the middle of the door and close it. The door should reverse as soon as it touches the board. If it doesn’t, stop using the door until a technician inspects the opener and sensors.
A door that’s suddenly hard to lift by hand, a new clang or twang, a visible gap in the torsion coil, or a door that drifts down when you let it go at the halfway point are all signs of spring fatigue. Any of them warrants a technician visit before the spring actually snaps. Never try to test or adjust the spring yourself.
Yes. A routine inspection finds the small things (worn rollers, a fraying cable end, a spring that’s losing tension) before they fail, and those are almost always cheaper to fix than a full replacement after a failure. It’s the difference between preventive care and crisis repair.
You need to time the maintenance to the local pattern. Centennial’s hard freezes, fast thaws, and hail seasons put more stress on springs, tracks, and seals than a mild climate does. Check everything before the first freeze and again after the spring thaw, and you’ve covered the two riskiest moments of the year.
A professional maintenance visit usually runs about 45 minutes to an hour for a standard residential door. That covers inspection of the springs and cables, a balance check, a functional test of the opener, and recommendations on anything that needs repair. Call (844) 834-3842 to schedule a free estimate.
The Bottom Line
A garage door maintenance schedule works best when it’s small, consistent, and timed to the seasons. Two minutes a month for the safety test. Ten minutes every few months for lubrication, on the right parts and not on the tracks. A half-hour before the first freeze and another after the spring thaw. One professional inspection a year to catch the things you can’t see from the ground. That’s the whole program. The parts of the job that should never be DIY are the springs, the cables, and any opener repair beyond the routine checks, and those are the ones we handle for Centennial homeowners every week. Call Lockhart Garage Door Service at (844) 834-3842 for a free estimate. We answer 24/7, and fast dispatch runs from 7am to 7pm, Sunday through Friday. From spring to sensor, we’ve got the door and the opener covered.
Written by the team at Lockhart Garage Door Service.