
Last updated November 15, 2026
 Raised-panel steel
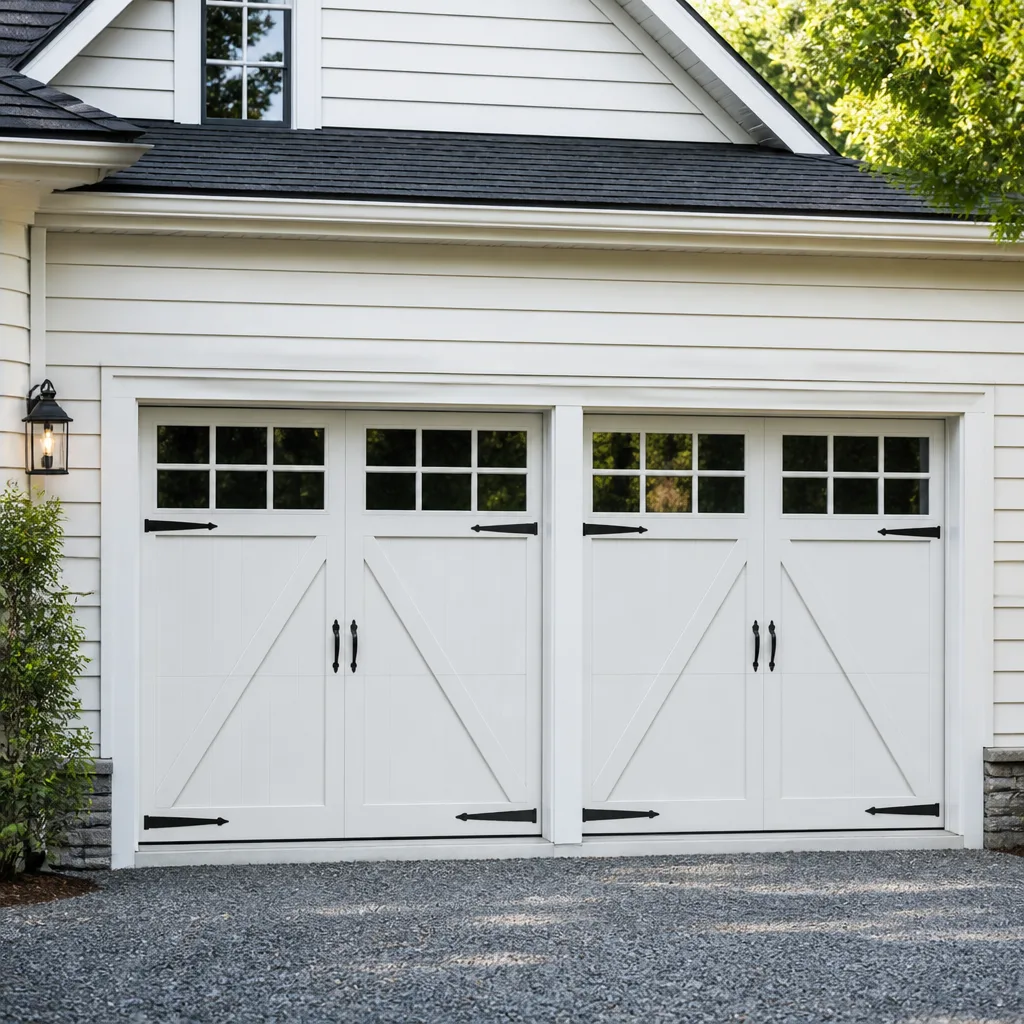 Carriage house
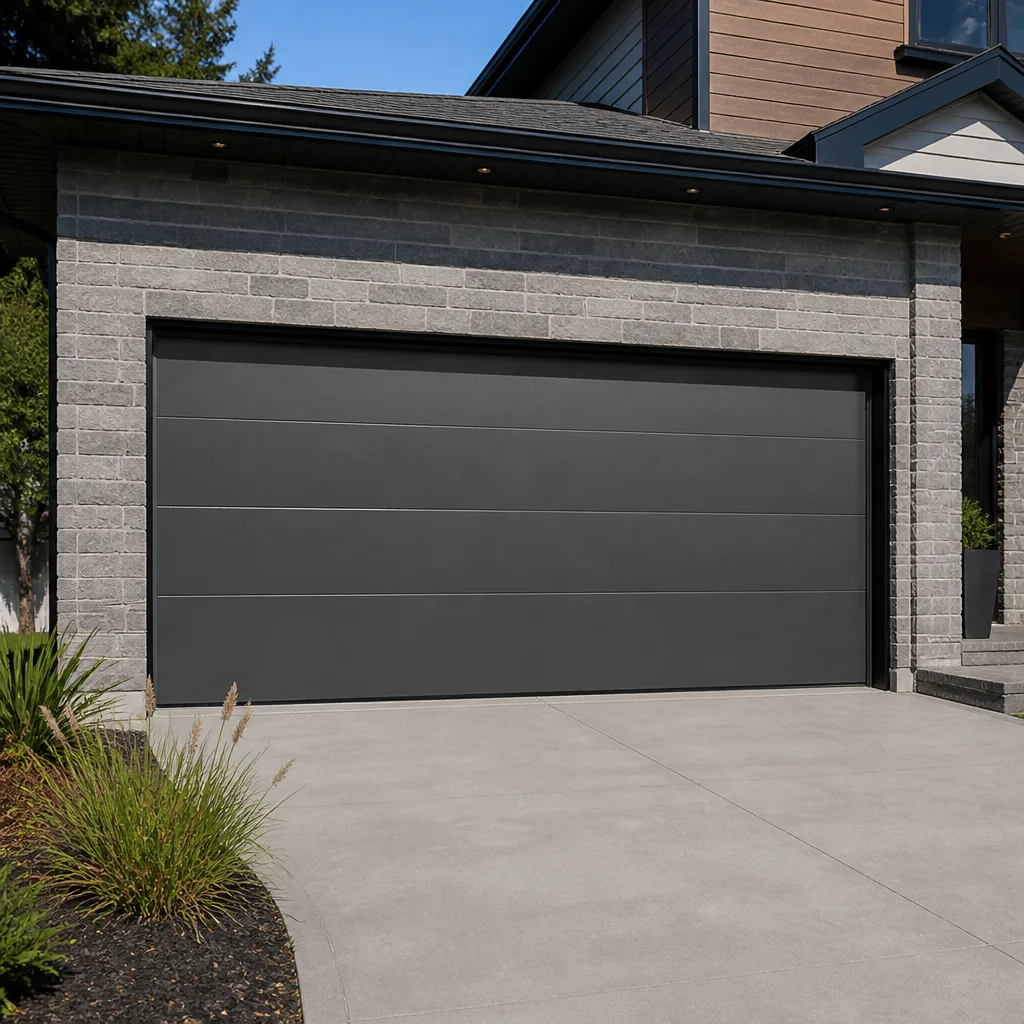 Modern flush
 Full-view glass
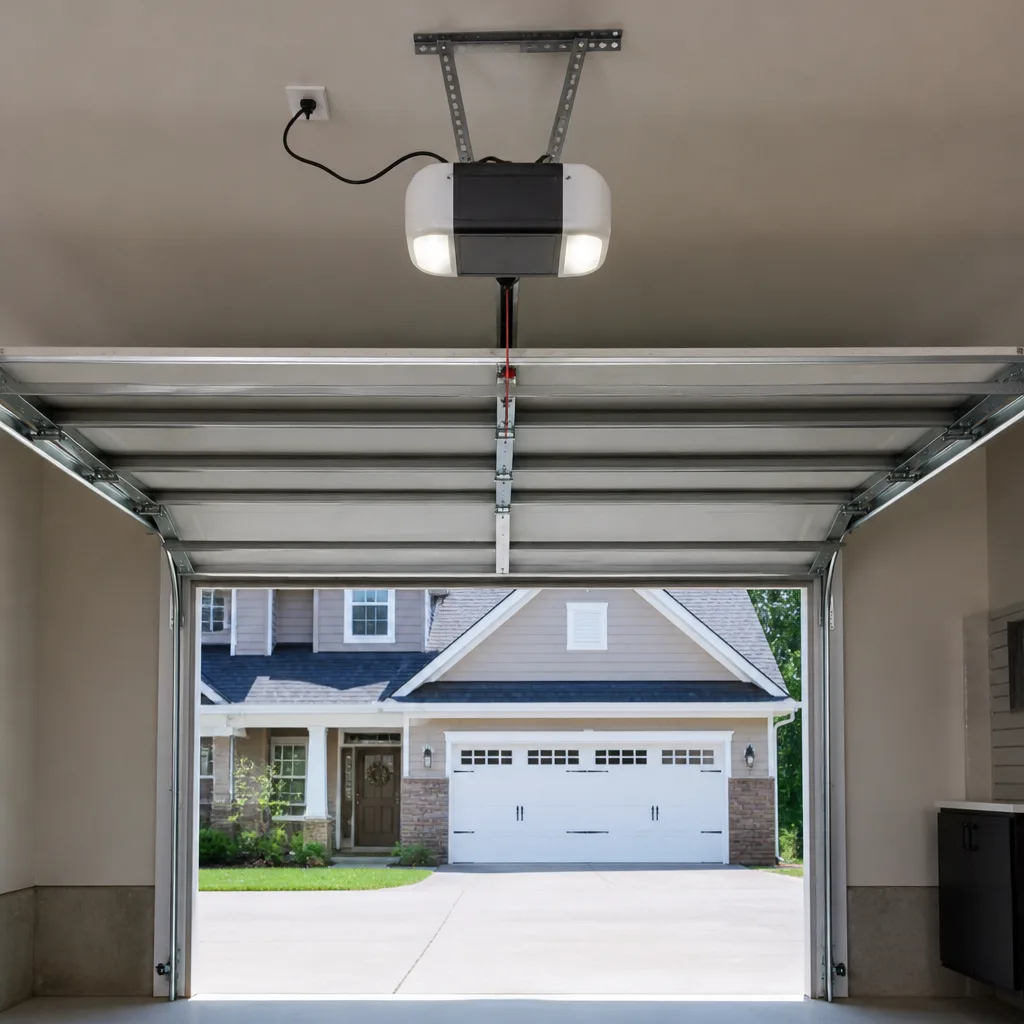 LiftMaster openers
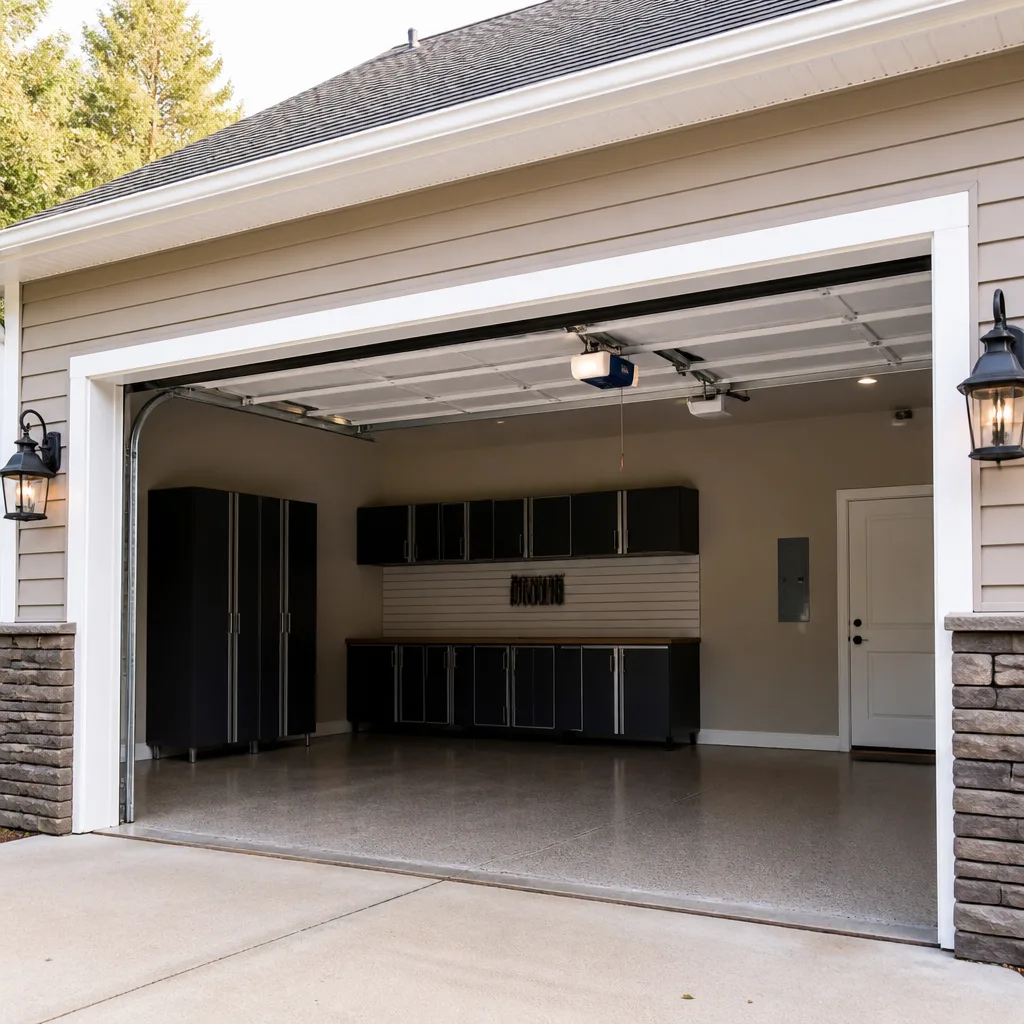 Chamberlain openers
Full 25-point door and opener safety check with every visit - springs, cables, rollers, tracks, and your LiftMaster or Chamberlain opener included
You get a price before we start. It does not change when the pro arrives.
Get your free estimateDIY vs Professional Garage Door: The Centennial Homeowner’s Decision Guide
Torsion springs store enough energy to injure you badly when they let go unexpectedly. Yet “replace your own garage door spring” pulls thousands of searches each month, because the step-by-step videos make it look manageable. The problem isn’t that homeowners lack skill. It’s that most guides lump every garage door job together and never draw a clear line between the tasks that are genuinely safe to handle and the ones that carry real risk. This guide draws that line for Centennial homeowners, task by task, so you can decide with your eyes open.
Quick Answer
Most garage door maintenance is safe DIY: lubrication, sensor alignment, remote programming, and visual inspections. Spring, cable, and high-tension hardware work, along with electrical connections inside an opener, is not – those are where people get hurt and where a warranty can be voided. The smart approach in Centennial is to handle the simple maintenance yourself and bring in a specialist for anything that involves stored energy or line voltage.
Styles & brands we work with
- Raised-panel steel
- Carriage house
- Modern flush
- Full-view glass
- LiftMaster openers
- Chamberlain openers
Table of Contents
- What Garage Door Work Is Genuinely Safe to Do Yourself?
- Why Torsion Springs Are Categorically Different From Other Home Repairs
- When a DIY Opener Installation Voids Your Warranty
- DIY vs Professional: An Honest Cost Comparison
- Opener Diagnostics: Where DIY Usually Stops
- How to Explain a Job That Started as DIY
- What Centennial’s Climate Does to Your Door
- Why Brand Familiarity Shortens a Repair
What Garage Door Work Is Genuinely Safe to Do Yourself?
Lubrication, sensor alignment, remote programming, and visual inspections are the tasks a homeowner can safely handle. Everything that touches a torsion spring, a cable under load, or the wiring inside the opener is a different category entirely, and we’ll get to why.
For the safe tasks, here’s what a typical maintenance routine looks like:
- Lubricate the moving parts. Apply a garage-door-rated lubricant to the hinges, rollers, and torsion spring coils a couple of times a year. It quiets the door and reduces wear.
- Align the safety sensors. If the door reverses or won’t close, check that the two small sensors at the base of the track face each other and that the indicator lights are solid. A bumped sensor is the single most common “broken door” call.
- Program a remote. Pairing a remote with a LiftMaster, Chamberlain, Genie, or Craftsman opener is a manual-and-button-press job most people can do in minutes.
- Balance the door by hand. Disconnect the opener and lift the door halfway. A well-balanced door stays put. If it drifts down or shoots up, the spring tension is off – and that’s a call to a technician, not a DIY fix.
- Look and listen. Worn rollers, frayed cables, and loose bolts announce themselves. Catching them on a visual pass keeps small problems from becoming emergency repairs.
If any of that turns up a spring or cable problem, stop there. The rest of this guide explains exactly why, and how to know when it’s time to reach a specialist for garage door repair in Centennial.
Why Torsion Springs Are Categorically Different From Other Home Repairs
A torsion spring is a wound metal coil holding the entire weight of the door under tension, and releasing that tension unexpectedly can cause serious injury. That’s not a scare tactic – it’s just how stored mechanical energy behaves. Unlike a loose cabinet hinge or a squeaky door, the spring is holding force you can’t see and can’t stop once it’s moving.
Here’s the distinction that most guides miss. Most home repairs fail gracefully. A bad paint job looks bad. A loose shelf falls an inch. A torsion spring under load doesn’t fail gracefully – it releases. The wind-up bars, the winding cones, and the cables all sit in a system that stores energy the way a drawn bow does. When a cable snaps or a spring lets go while someone is holding a winding bar, the result is a genuine injury risk, not a bruised ego.
That’s why we draw the line so firmly. A technician working on springs uses specific tools, a controlled winding sequence, and knows how to keep their body out of the release path. The step-by-step videos online skip that safety geometry, which is exactly why the job looks manageable right up until it isn’t.
So the practical rule for Centennial homeowners: a spring that has snapped, a door that hangs crooked, or a cable that has come off the drum is a professional job. Everything else on this list you can safely inspect. If a spring is involved, call in someone trained for it. Lockhart Garage Door Service handles exactly this kind of work.
When a DIY Opener Installation Voids Your Warranty
A DIY opener installation can void the manufacturer’s warranty if the unit is installed outside the maker’s specifications, and that’s the hidden cost most homeowners never calculate. When a new LiftMaster, Chamberlain, or Genie unit fails and the maker asks who installed it, an unpermitted, self-installed unit is often the reason a claim gets denied.
The warranty question matters because openers are the most failure-prone electronic component in the whole system. Motors, logic boards, and safety reverse mechanisms all wear. If a $250 opener dies inside its coverage window, a denied claim means you pay for the replacement yourself, plus the labor to swap it – and that can easily match or exceed what a professional installation would have cost up front.
There’s a second layer, too. Modern openers with battery backup, Wi-Fi, and safety sensors have more wiring than the units of a decade ago. Getting the low-voltage sensor wiring and the high-voltage connection right is the difference between a unit that works for years and one that trips a breaker or reverses unpredictably.
Our practical advice: if you’re mechanically confident and your unit’s manual is clear, a straightforward replacement of an identical model is a reasonable DIY project for some homeowners. If you’re upgrading to a different brand, adding a belt drive, or wiring a new circuit, the warranty math usually favors professional installation. And if the opener is misbehaving rather than dead, a proper diagnosis is worth more than a guess. Our garage door opener repair service exists because openers fail in specific, diagnosable ways.
DIY vs Professional: An Honest Cost Comparison
The honest comparison isn’t parts versus labor. It’s parts, tools, time, and the realistic chance a first-timer gets it wrong and pays twice. Here’s how that breaks down for the most common Centennial jobs.
On a straight spring replacement, the part itself is modest, but the tools matter: proper winding bars, a stable ladder, and the knowledge to use them safely. A first-time installer also has to factor in the real error rate – a misjudged spring, a stripped winding cone, or a cable that slips off the drum usually means a second trip and a second part. When you total the tools you’ll use once, the hours, and the odds of a redo, the DIY savings narrow fast.
On an opener replacement, the equation tilts further toward professional. The unit cost is similar either way, but an installed price bundles the wiring, the safety sensor setup, the travel-limit adjustment, and the warranty protection that a self-install can void. On a full door replacement, DIY stops making sense entirely – a new door involves measuring, ordering, spring sizing, panel alignment, and track work that a homeowner simply can’t do safely alone.
Where DIY clearly wins is the small stuff: a tube of lubricant, a sensor alignment, a remote re-pair. Those cost you minutes and save you a service call. The line we’d draw for Centennial homeowners is simple – if the job needs a special tool you’ll never use again or involves stored energy, price it professionally before you commit.
Opener Diagnostics: Where DIY Usually Stops
Opener problems are the place where DIY confidence most often meets its limit, because the symptom rarely points straight at the cause. A door that reverses might have a misaligned sensor, a binding track, a failing logic board, or a spring that’s lost tension. Each fix is different, and guessing wrong means buying the part you didn’t need.
Here’s how a technician actually narrows it down, and why the method beats trial and error:
- Confirm the symptom precisely. Does it reverse on the way down, fail to close, open partway, or click without moving? Each points to a different subsystem.
- Test the safety sensors first. They’re the most common culprit and the fastest to rule out. Solid indicator lights on both sensors is the pass condition.
- Check the door’s balance by hand. An unbalanced door overloads the opener and mimics an electronic fault. If the door won’t stay put halfway, the springs are the real problem, not the motor.
- Inspect the drive and limits. A slipping belt, a worn gear, or a mis-set travel limit each produce their own signature behavior.
- Test the logic board only after the above. Replacing a board is expensive and easy to do prematurely.
That sequence is what someone trained on LiftMaster, Chamberlain, and Genie systems runs in their head before touching a part. It’s also why a generalist handyman can swap a part but struggle to diagnose the actual fault – and why a callback is common when the wrong component gets replaced first. If you’ve already replaced a sensor or a remote battery and the door still misbehaves, that’s the signal that diagnosis has passed the DIY stage.
How to Explain a Job That Started as DIY
If a job started as DIY and now needs a technician, the single most useful thing you can do is explain what you already tried, in order. That sounds obvious, but the homeowners who get an accurate quote fastest are the ones who tell the story plainly rather than hiding the failed attempt.
Here’s how to set up the call so the estimate is accurate:
- Say what the original problem was. “The door wouldn’t close” is a start; “the door reverses after six inches and the sensor lights are both green” tells the technician where to look.
- List what you replaced or adjusted. A new sensor, a re-paired remote, a fresh battery – each one removes a possibility from the diagnostic path.
- Describe anything that changed after your attempt. A new noise, a door that now opens crooked, or a breaker that trips is a clue, not a confession.
- Note the brand and model if you can. A Craftsman opener and a Raynor door have different service quirks, and knowing the hardware up front saves time.
- Be honest about the limits of what you did. If you loosened a spring or adjusted a cable and then stopped, say so. That’s a safety flag a technician needs to know before arriving.
There’s no judgment in any of this. Half the jobs we’re called to are partial DIY attempts, and the fastest path to a fair, accurate quote is a clear account of what happened. The price is quoted and agreed before any work begins, so the more the technician understands up front, the more precise that quote will be.
What Centennial’s Climate Does to Your Door
Centennial sits at elevation along the Front Range, and the swing between hot summers and cold, dry winters works on garage door hardware in ways coastal or mild-climate guides never mention. The freeze-thaw cycle is the main culprit. Moisture works into small gaps, freezes, expands, and loosens what was tight – which is why a door that ran smoothly in October can develop a rattle or a sticking roller by February.
The dry air matters too. Low humidity is hard on lubricant, which dries out faster than it would in a damper climate, and that accelerates wear on hinges, rollers, and spring coils. It’s why a spring that’s near the end of its life tends to fail on the first cold snap rather than gradually. We see more spring failures as the temperature drops, and that’s a pattern, not a coincidence.
For Centennial homeowners, the practical adjustment is simple: lubricate more often than a generic maintenance guide suggests, and pay attention to new noises in the fall before the cold sets in. A visual pass in late autumn catches worn rollers and frayed cables before winter stress finds them. If your door is in one of the older neighborhoods around Centennial where homes have had the same hardware for years, that fall check is worth doing. A little attention now, in Centennial’s climate, saves a mid-winter repair.
Why Brand Familiarity Shortens a Repair
Brand familiarity shortens a repair because the technician already knows the quirks of your specific hardware before they arrive. A Wayne Dalton door and a lift system from LiftMaster or Chamberlain each have their own adjustment points, spring sizing conventions, and known failure modes. Someone who works across those brands regularly recognizes the pattern in minutes; someone who doesn’t starts from scratch.
This is one of the quieter arguments for a specialist over a generalist handyman. A handyman can be skilled and still spend an hour figuring out a system they’ve never seen, and the customer pays for that learning curve. Fluency across the eight most widely installed residential brands – Amarr, Wayne Dalton, Craftsman, Raynor, and the others – means the diagnosis doesn’t start at zero.
It also affects the parts question. Different brands and tiers use different spring sizes, cable gauges, and opener logic. Recognizing your hardware means ordering the right part the first time instead of discovering the mismatch on install day. For a Centennial homeowner with an older door from a brand that’s changed hands over the years, that recognition is the difference between one visit and three.
We mention this not to oversell, but because it’s a real, practical variable in what a repair costs you. If you can name your brand and model when you call, you’ve already helped the technician help you. And if you can’t, that’s fine – that’s what the first visit is for.
Common Mistakes to Avoid
- Winding a torsion spring without the right tools. Using screwdrivers or pliers in place of winding bars is how people get hurt. The tool exists for a reason – use a professional for this job.
- Assuming a reversing door means a bad opener. More often it’s a misaligned sensor or an unbalanced door. Replacing the opener before diagnosing wastes money.
- Installing an opener yourself and losing the warranty. A self-install outside the maker’s specs can void coverage, and that’s a cost you discover only when the unit fails.
- Skipping lubrication because the door “seems fine.” In Centennial’s dry air, lubricant dries out faster than you’d expect, and worn parts fail quietly before they fail loudly.
- Adjusting spring tension to “fix” a crooked door. A tilted door usually means a cable or spring problem, and tightening the wrong thing makes it worse and more dangerous.
- Hiding a failed DIY attempt from the technician. A clear account of what you tried is what makes the quote accurate. Withholding it slows diagnosis and can raise the final cost.
- Buying a replacement opener before checking the door’s balance. An unbalanced door overloads any new opener, so you’d be replacing good electronics and still have the same problem.
See the difference
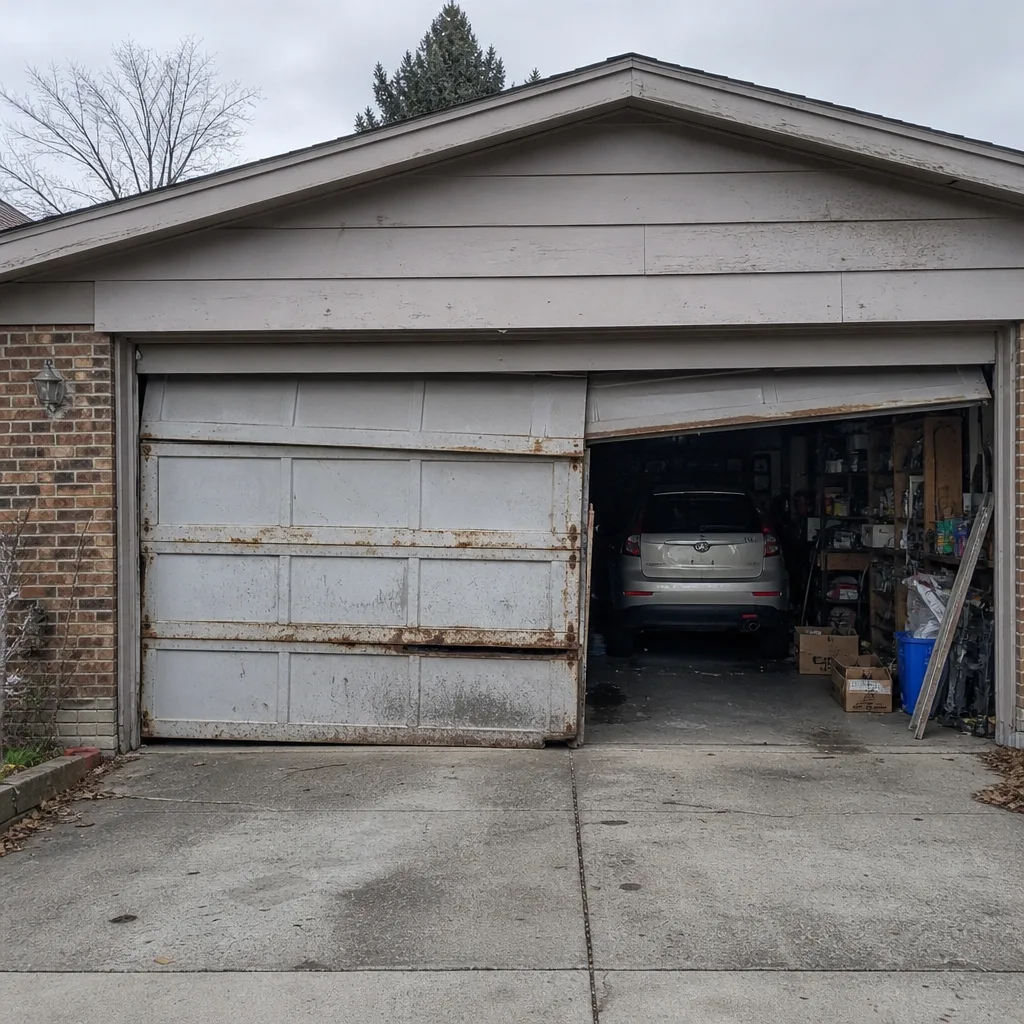 Before
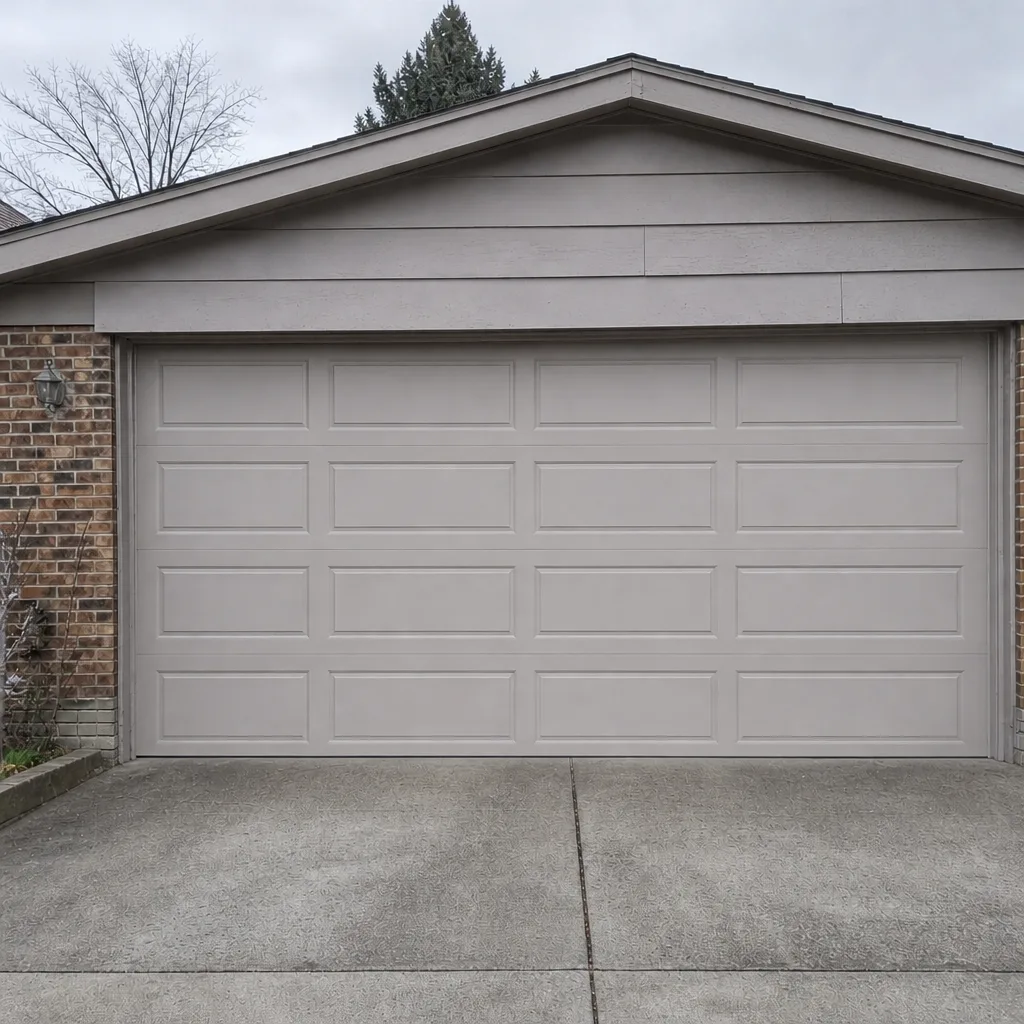 After
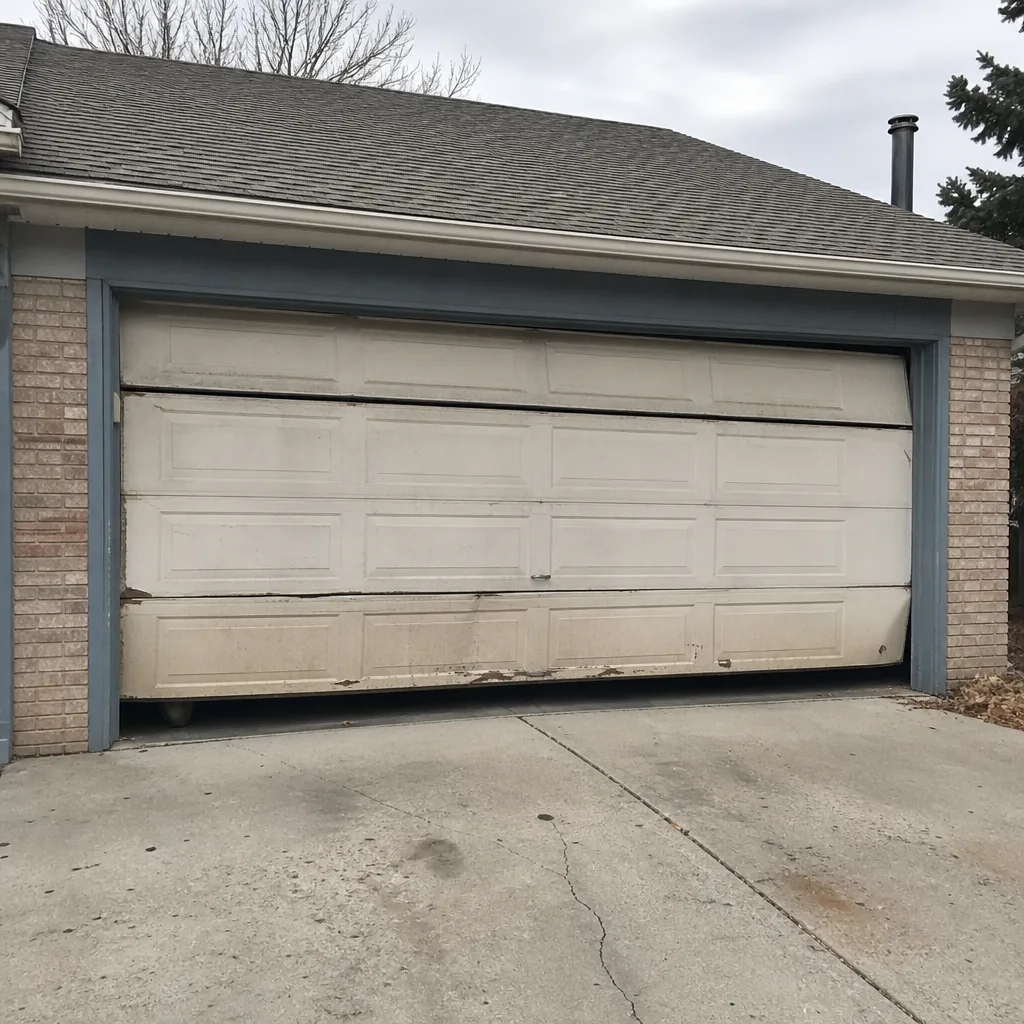 Before
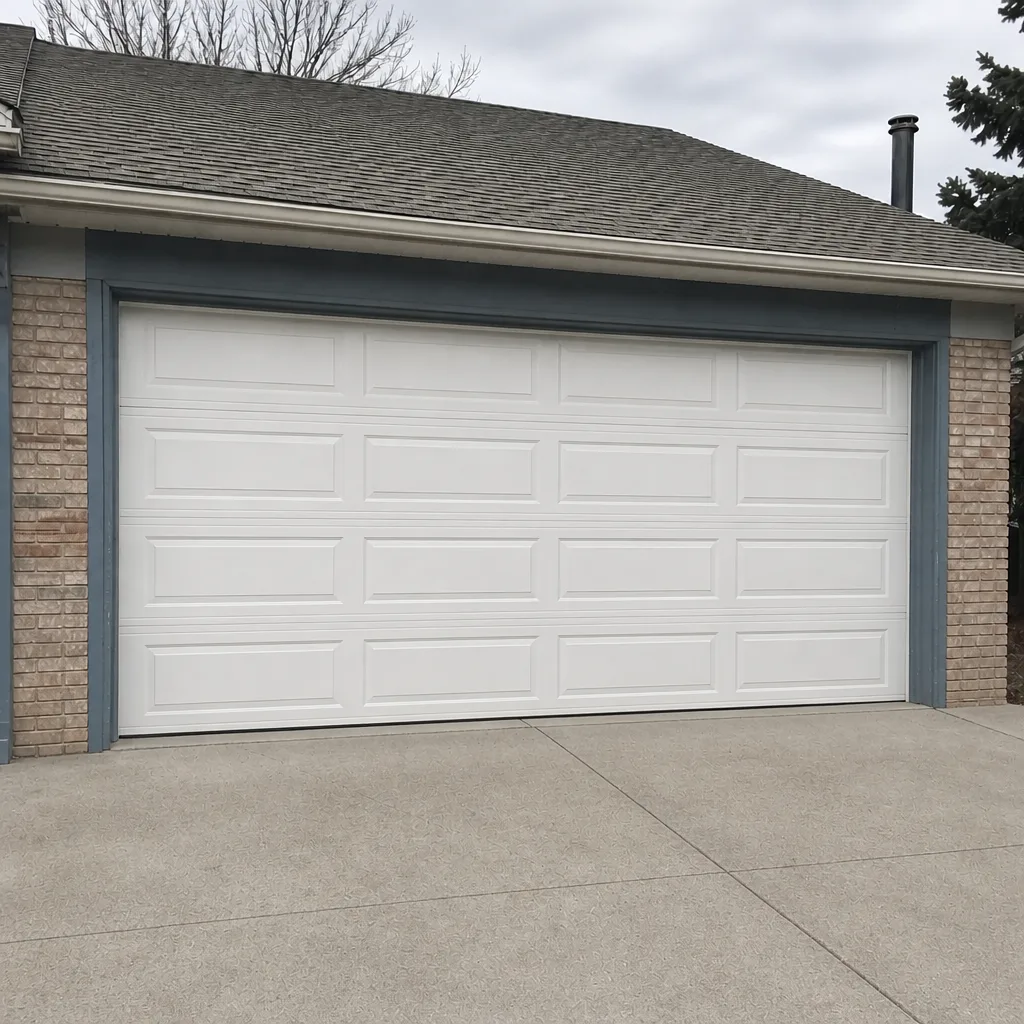 After
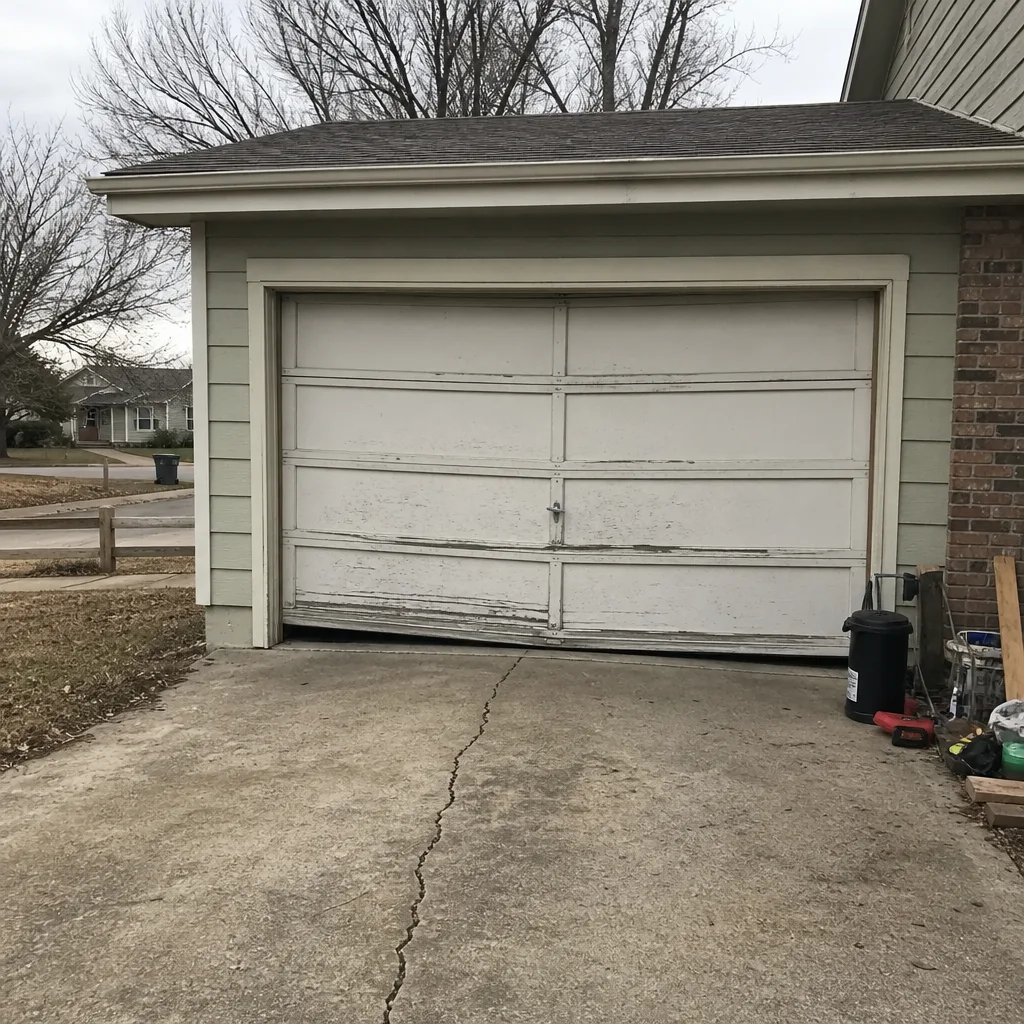 Before
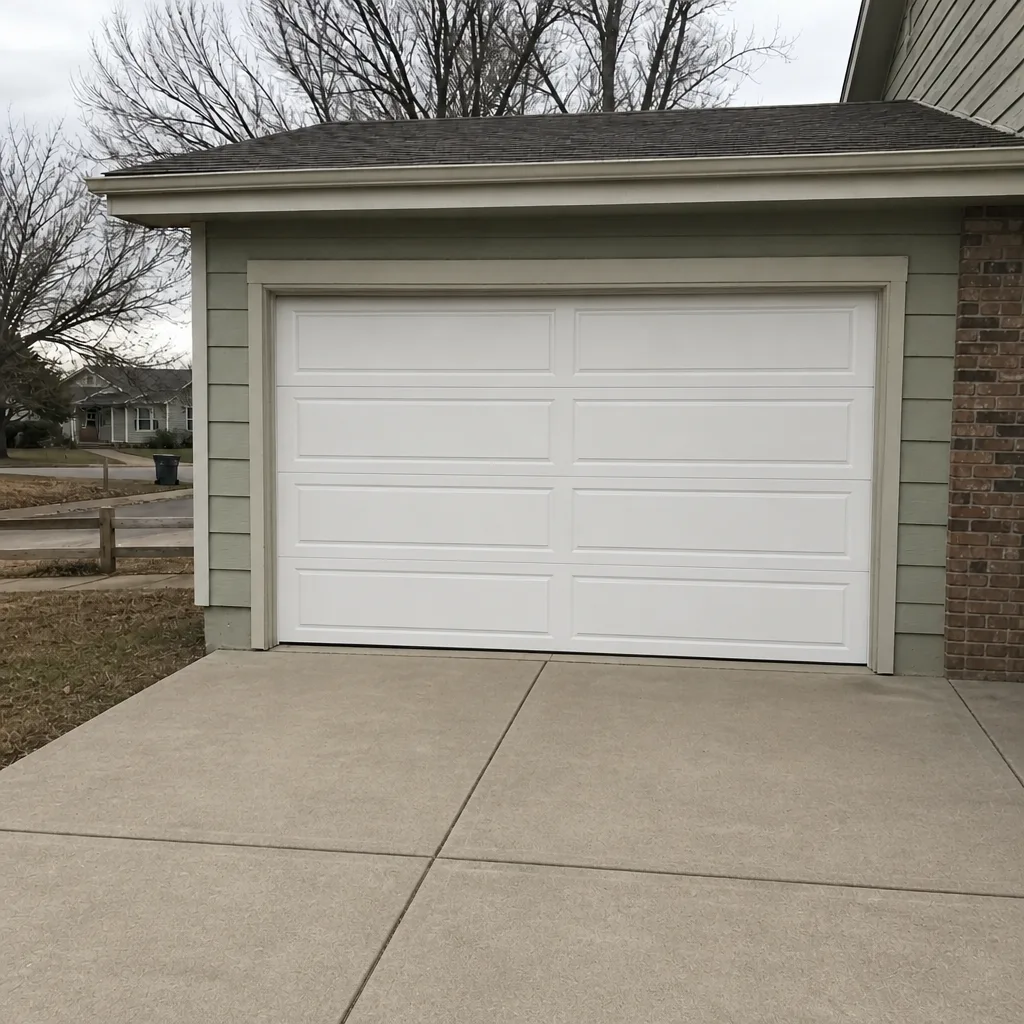 After
When to Call a Professional
Call a professional for any torsion spring, cable, or high-tension hardware work, for electrical connections inside the opener, for a door that has come off its track or hangs crooked, and for any job where a DIY attempt has already stalled. Those are the tasks where a trained technician with the right tools and a controlled sequence is the safe choice, not an expensive one. Our technicians have up to 9 years of experience across the major brands, and Lockhart Garage Door Service offers free estimates; call (844) 834-3842 when you’re ready. We answer 24/7, and dispatch runs from 7am to 7pm, Sunday through Friday. Prices are quoted and agreed before any work starts, so you know the number before the job does.
Frequently Asked Questions
No. A torsion spring stores enough energy to cause serious injury when released unexpectedly, and replacing one safely requires specific tools and a controlled winding sequence. The videos make it look manageable, but the release path and the tools are exactly what they leave out. Call (844) 834-3842 for a free estimate instead – the price is quoted before any work begins.
It can be. If a unit is installed outside the manufacturer’s specifications, the maker may deny a warranty claim, and that’s a hidden cost that shows up only when the opener fails. If you’re replacing an identical model and your manual is clear, some homeowners manage it; if you’re switching brands or adding wiring, professional installation usually protects the warranty better. Call for a free estimate if you’d like to compare.
Lubrication, sensor alignment, remote programming, and visual inspections are all safe DIY tasks. Those cost minutes and save a service call. Anything involving a spring, cable, or line voltage is where DIY stops. Call (844) 834-3842 when a job crosses that line – estimates are free.
Start with the safety sensors – a bumped sensor is the most common cause and it’s safe to check. If the sensors are aligned and the problem continues, it’s likely a balance or opener fault that needs diagnosis. That’s the point to call (844) 834-3842 rather than replace parts on a guess; the price is set per job by a written estimate.
No, but being clear about what you tried helps the technician get to the right diagnosis faster, which keeps the quote accurate. A partial DIY attempt is common, and an honest account of it is useful information, not a penalty. Call (844) 834-3842 for a free estimate – the written quote is the number you pay.
Yes, in practice you do. A new door involves measuring, spring sizing, panel alignment, and track work that a homeowner can’t safely handle alone, and this kind of work is scheduled rather than same-day. If you’re planning an installation, call (844) 834-3842 for a free measure and a written price. We answer 24/7.
The Bottom Line
The DIY-versus-professional question for garage doors isn’t really about skill. It’s about which tasks carry real injury risk and which don’t, and the honest line runs between maintenance and stored energy. Lubrication, sensors, and remotes are yours to handle. Springs, cables, high-voltage wiring, and full installations are jobs for a trained technician, and a self-installed opener can cost you the warranty that would have covered the repair. For Centennial homeowners, the fall lubrication check is worth doing yourself; everything past that line is worth a free estimate. Call Lockhart Garage Door Service at (844) 834-3842. We answer 24/7, with fast dispatch from 7am to 7pm, Sunday through Friday. A Centennial homeowner who knows which side of the line they’re on makes the right call every time.
Call (844) 834-3842 for a free estimate. Whether it’s a snapped spring, a misbehaving opener, or a new door you’re planning, we’ll give you a straight answer and a written quote before any work starts. We work across the brands already on your home – Amarr, Wayne Dalton, Craftsman, Raynor, and the rest – across Centennial, so you’re not hunting for a compatible technician. We answer 24/7, and fast dispatch runs from 7am to 7pm, Sunday through Friday.
Written by the team at Lockhart Garage Door Service.